Whoa, thanks for purchasing Arch Pro!
Seriously, your purchase means a lot and I hope these LUTs help you craft the best looking images possible from your camera! Let’s get you up and running!
Arch Pro LUTs
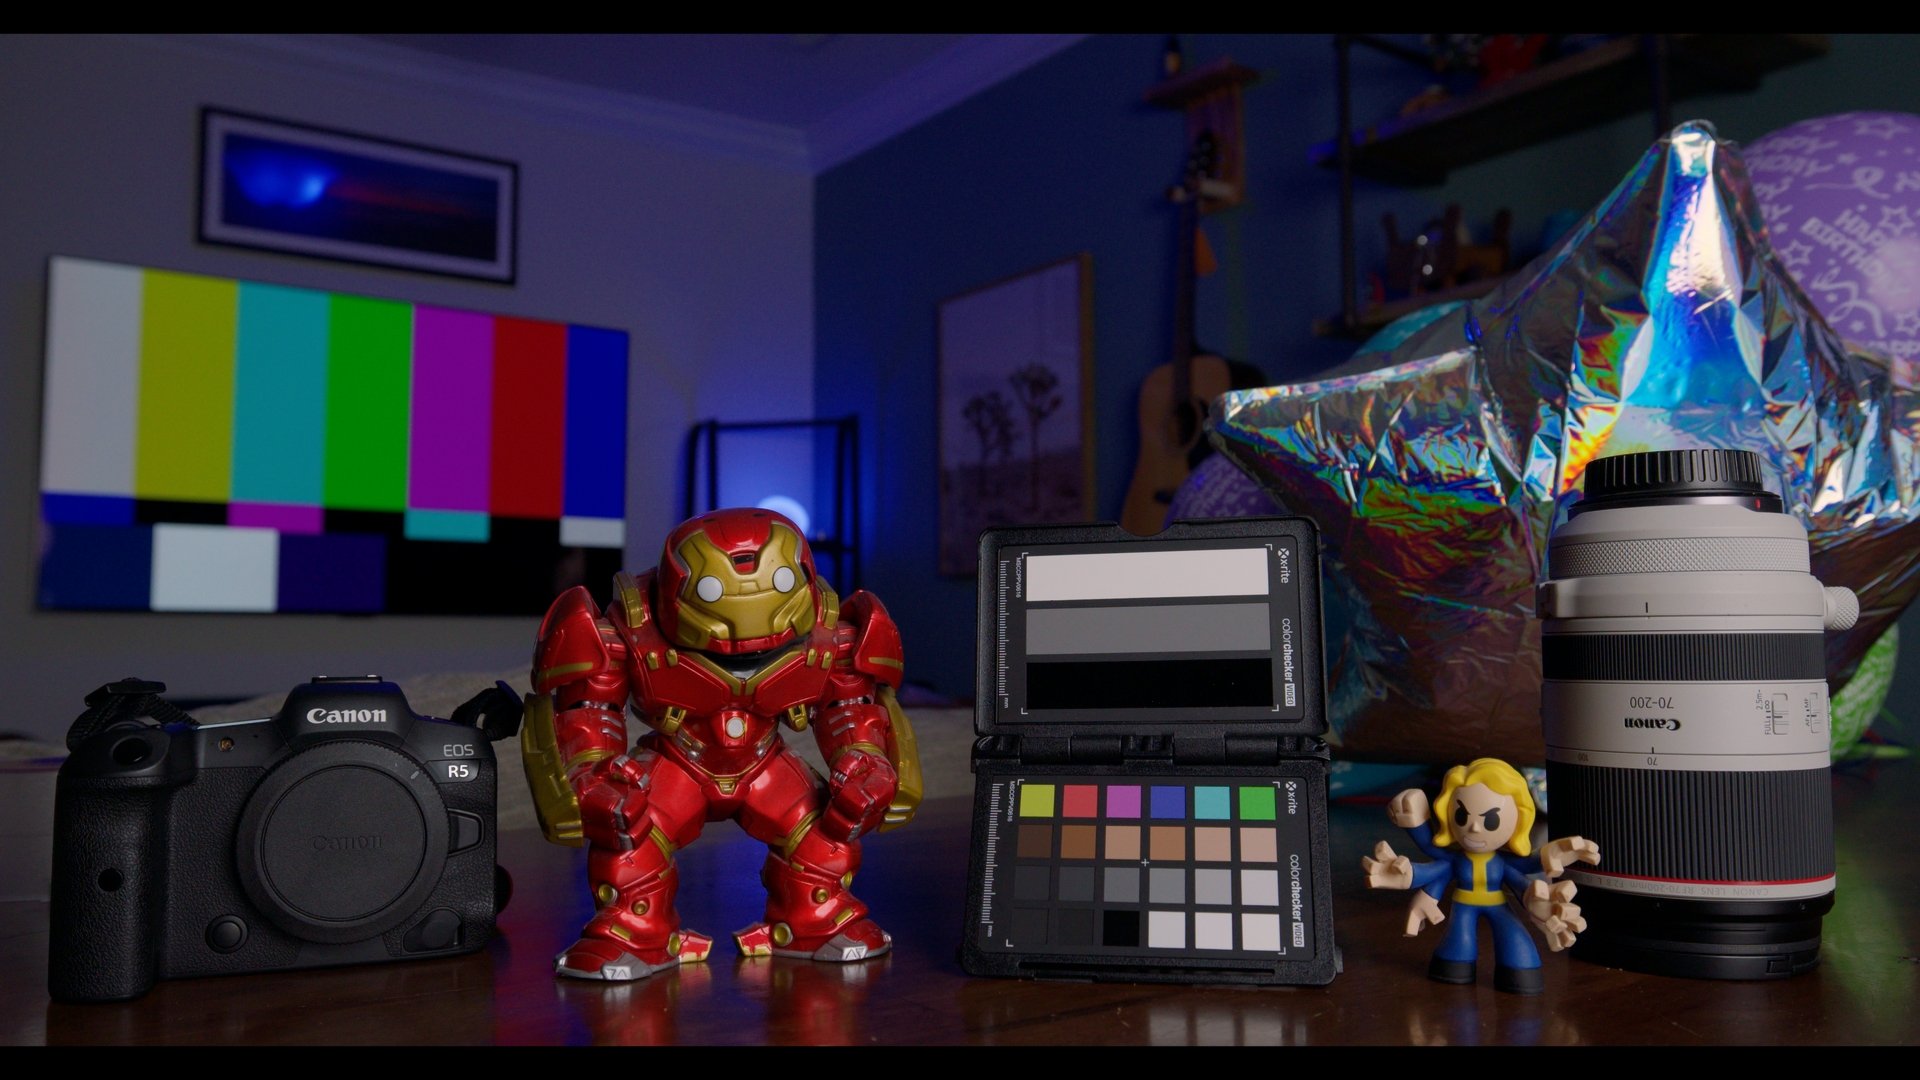
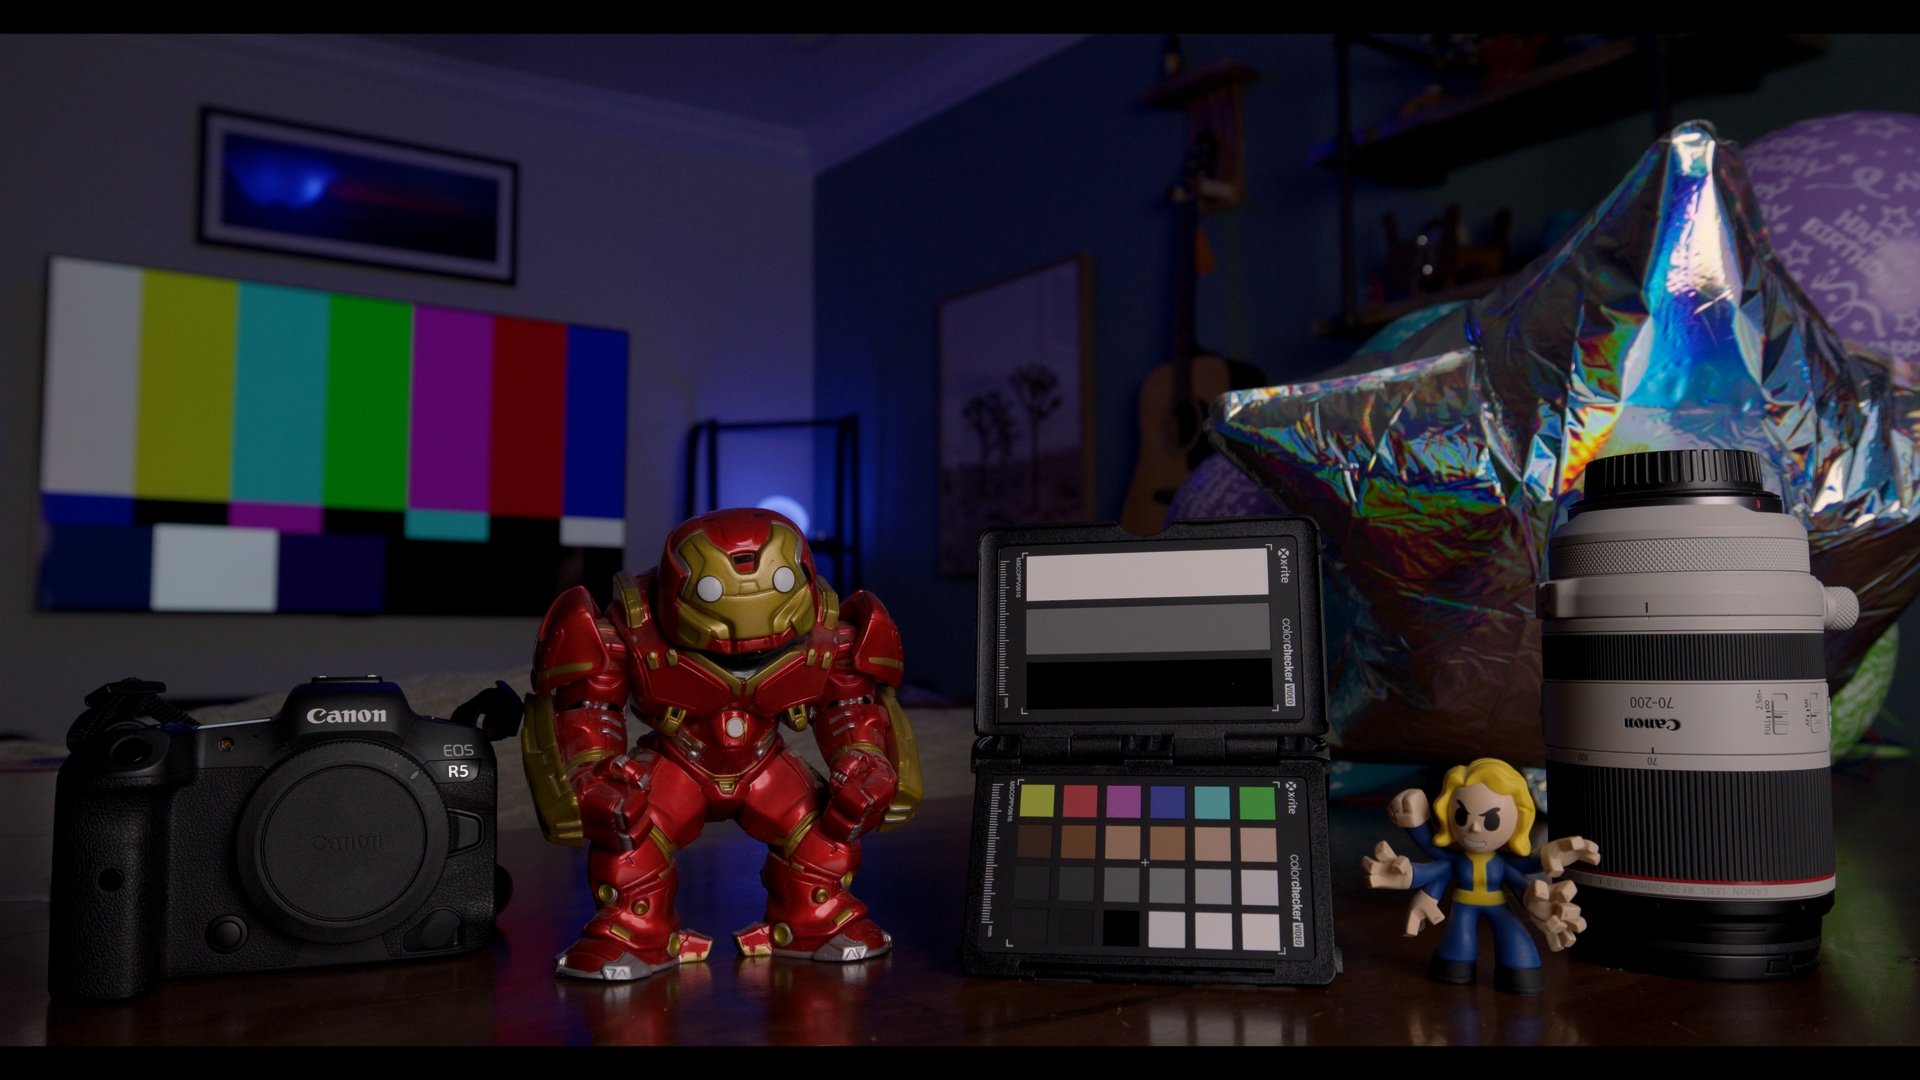
Natural — This is the LUT I monitor most with. Very balanced colors with the overall goal of this look to make it feel like being there.
Filmic — A variation of the Natural LUT with a highlight ceiling of ~800 IRE. A little less contrast, a little less saturation, and just a touch warmer. An amazing starting point for a heavier grade.
Vivid — This LUT has strong opinions. If you’re shooting a music video or product demo with a lot color, you’ll see this LUT shine. Exposure is key for monitoring this one in-camera because it will fill your histogram if you let it. I generally apply this and dial back the Mix/Key until I find something I really love.


Arch Pro Plus LUTs
These looks are easier to just show off as opposed to talk about. Their names are often quite a good description of what to expect, however!
How to Use
Regardless of which package you download, you’ll have a number of folders full of LUTs at your disposal. This can be a little overwhelming, but take heart: you’ll be up an running in no time. Here’s a screenshot to walk you through what you have and where to use them:
Installation
All of the base LUTs have “monitoring” versions you can use in-camera or an external monitoring device. The Arch Pro Plus looks can be used for color grading AND in-camera monitoring. Special thanks to the folks who wrote in asking for tweaks so these would work on their specific monitoring devices. The primary monitoring LUTs are in a separate folder and have 33pt appended to them. They are the preferred option for monitoring. In your NLE or color grading application, please use the non-monitoring LUTs for best results.
DaVinci Resolve 18.5+ (Recommended)
If you are color grading on your computer monitor or anything other than a professional-grade calibrated external display, use the following settings. If you’re grading on a calibrated external display, you probably already know the best settings to use for your use case and can skip this part.
Let’s start by going to Resolve Preferences, and then the General section:
Next, we want to go to the Project Settings which can be accessed by clicking the little cog in the bottom right of the main window. Select the area labeled Color Management.
Final Cut Pro 10.6+
Final Cut allows you to add a LUT in two places: at the individual clip level or to clips on the timeline. I highly recommend adding Arch Pro to clips as the last step in your color correction workflow in the timeline using the Custom LUT Color Effect. This allows you to make exposure and white balance changes before the LUT is applied. This will produce consistently higher quality results. Here’s what both ways look like in practice:
To apply at the Clip Level, select a clip in your Media Browser, toggle open your Inspector, switch the Metadata view to “General” or “Settings” in the bottom left. Find the Camera LUT dropdown and then either Add a Custom Camera LUT or, preferably “Reveal in Finder”, add the whole Arch Pro folder there, then restart Final Cut Pro to begin using them.
Premiere Pro 22+
Adding a LUT in Premiere is quite a straightforward affair!
Click on the clip you want to work with in your timeline
Navigate to the Lumetri Color panel
Under Basic Correction, select the dropdown labeled Input LUT and click Browse
Navigate to where you have Arch Pro installed and select the appropriate LUT for the clip
For Best Results — Capture
You’ll need to have a working knowledge of your specific camera in order to get the very best results, but here are some basic guidelines worth following:
Shoot with a minimum of 10-bit color. 4:2:0 subsampling is fine, 4:2:2 is better!
If your camera and workflow supports it, shoot with a RAW codec (BRAW, Cinema RAW Lite, ProRes RAW, etc)
Whenever possible, expose with your camera’s base ISO to maintain the right balance of shadow and highlight detail
If your camera has Dual Native ISO, look for a chart like the one below in order to prioritize exposure
No need to ETTR for these LUTs if you follow the guidelines above
There are 33-point Monitoring LUTs included so you can import them directly into most cameras and all external monitors from manufacturers like Atomos, Lilliput, Feelword, etc and use them on set
A chart for the Blackmagic Pocket Cinema Camera 4K. Notice how the most highlight detail you can get is at ISO 1000, just before engaging the higher ISO settings. Image care of https://www.premiumbeat.com/blog/dual-native-iso-explained/


